Amplify your deployment!
In my previous blog post I gave an introduction to the AWS Amplify framework and how you can use it to generate an AWS backend and use it in your application.
In this blog post we are going to take things one step further and use the Amplify Console to set up a deployment pipeline which will be triggered whenever we make a commit to Git. Amplify will then build, test and deploy our application for us.
Goal of the article
The Goal of this article is to have a setup so that every time you make a commit to Git, your frontend application is built, tested and deployed to S3. Your AWS cloud resources also all get updated. You will be able to get an overview of all deployments in the Amplify console and also see screenshots that are made of the home page in order to show that the app has been deployed correctly.
Connect to Git repository
The first step is to connect with your Git repository. This article assumes that you already have an Amplify project set up. If not, follow the instructions in my previous article. The first thing you need to do is to log in to the AWS console and search for Amplify. There you will see the option to “connect app”. From this point you have the option to connect to repositories on GitHub, BitBucket, GitLab, AWS CodeCommit and “Deploy without Git provider”. I am not sure how the last one works and I will omit this option for the remainder of the article.
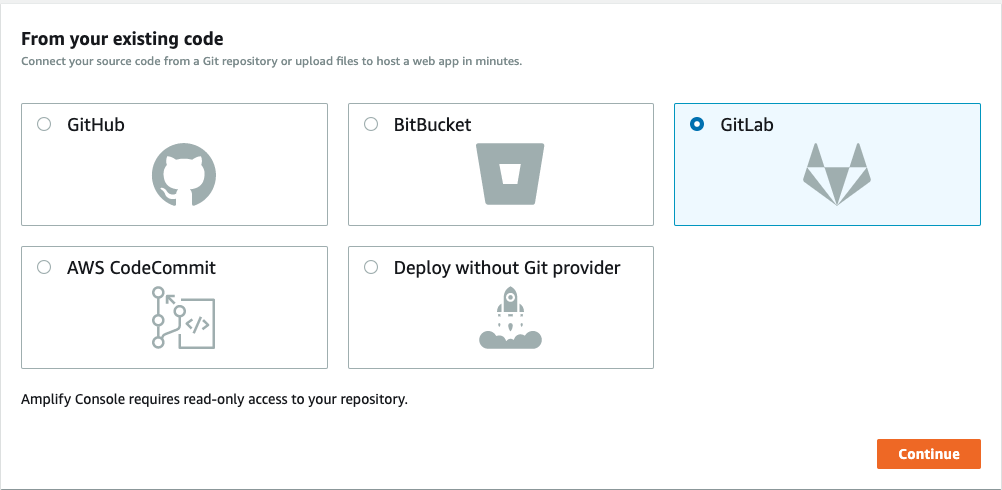
For this article I am going to use GitLab, but feel free to use any option. Once you select one, you will need to log in. After this, you need to select a repository and a branch. For this example I will use my “amplify-deployment” dummy project and use the “master” branch. This project has a simple React page and also Amplify API and Function that are empty.
Once you are authenticated and have selected your repository and branch, you can configure your build settings. The following build settings are the default:
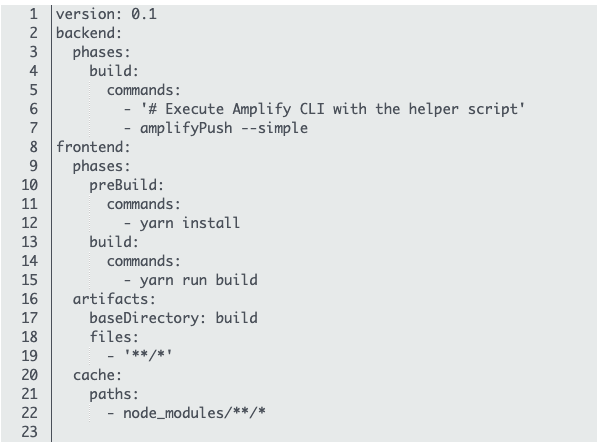
This is the YAML that represents the entire build and deployment for your setup. It is divided into backend and frontend. In the backend we have only one command, that is the “amplifyPush –simple”, which is a command similar to running “amplify push -y” in the CLI on your own. It will push all changes to your AWS backend configuration that you have checked in to your repository to AWS.
The frontend part is more complicated. It first defines two phases. The first is the pre-build. This is where you would install your dependencies and setup anything you need to do before actually building your application. My advice would be to add a “prebuild.sh” script with everything in it and call it here. Then we have the build phase. It is now using Yarn, but you can also change it to NPM if you want.
For the frontend you also need to define where the artifacts will be. These are the files that need to get pushed to S3, where your frontend is hosted normally when you use Amplify. In this case we are telling it that it needs to take ALL files in the build directory and push them to S3. Finally, we also tell the build settings to cache the NPM modules so that we don’t have to install them from scratch every time.
You can edit this configuration here or you can download it as a YAML file and check it in to your repository. I prefer the latter, but feel free to choose which one you like best. If you do choose to download it, make sure to give it the name “amplify.yml” and add it to the root of your project.
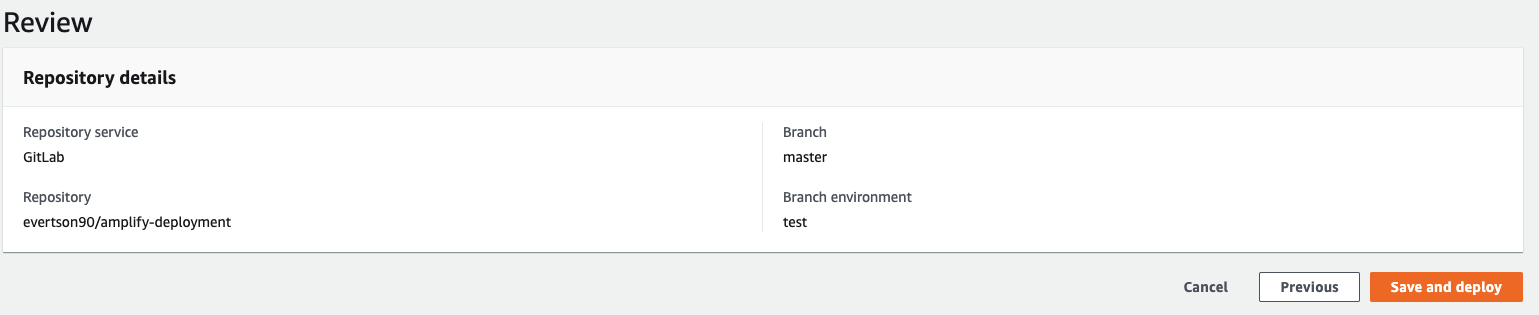
Finally you will get a summary of your settings and you are ready to go.
Build in action
Once you click on “Save and deploy” it will immediately try to run the build and deploy it. You will get to see the following:
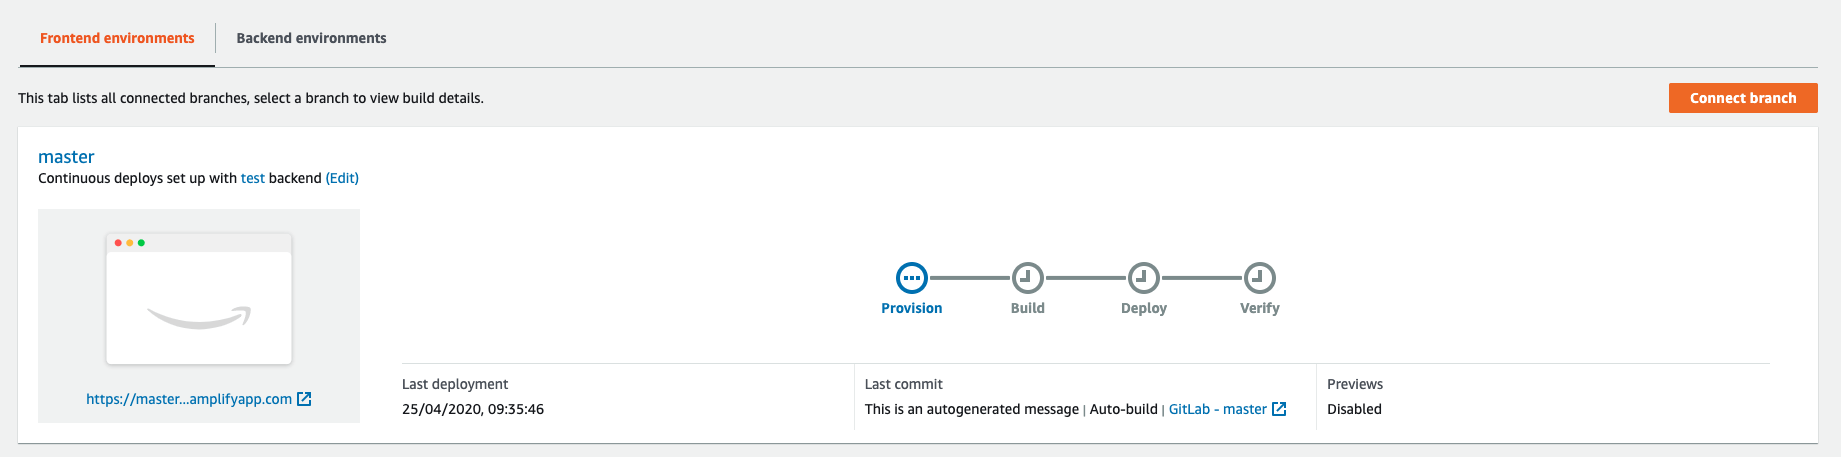
Which shows you the progress of your build. Clicking on “Provision” will you show you more detailed information of what is going on during this step:
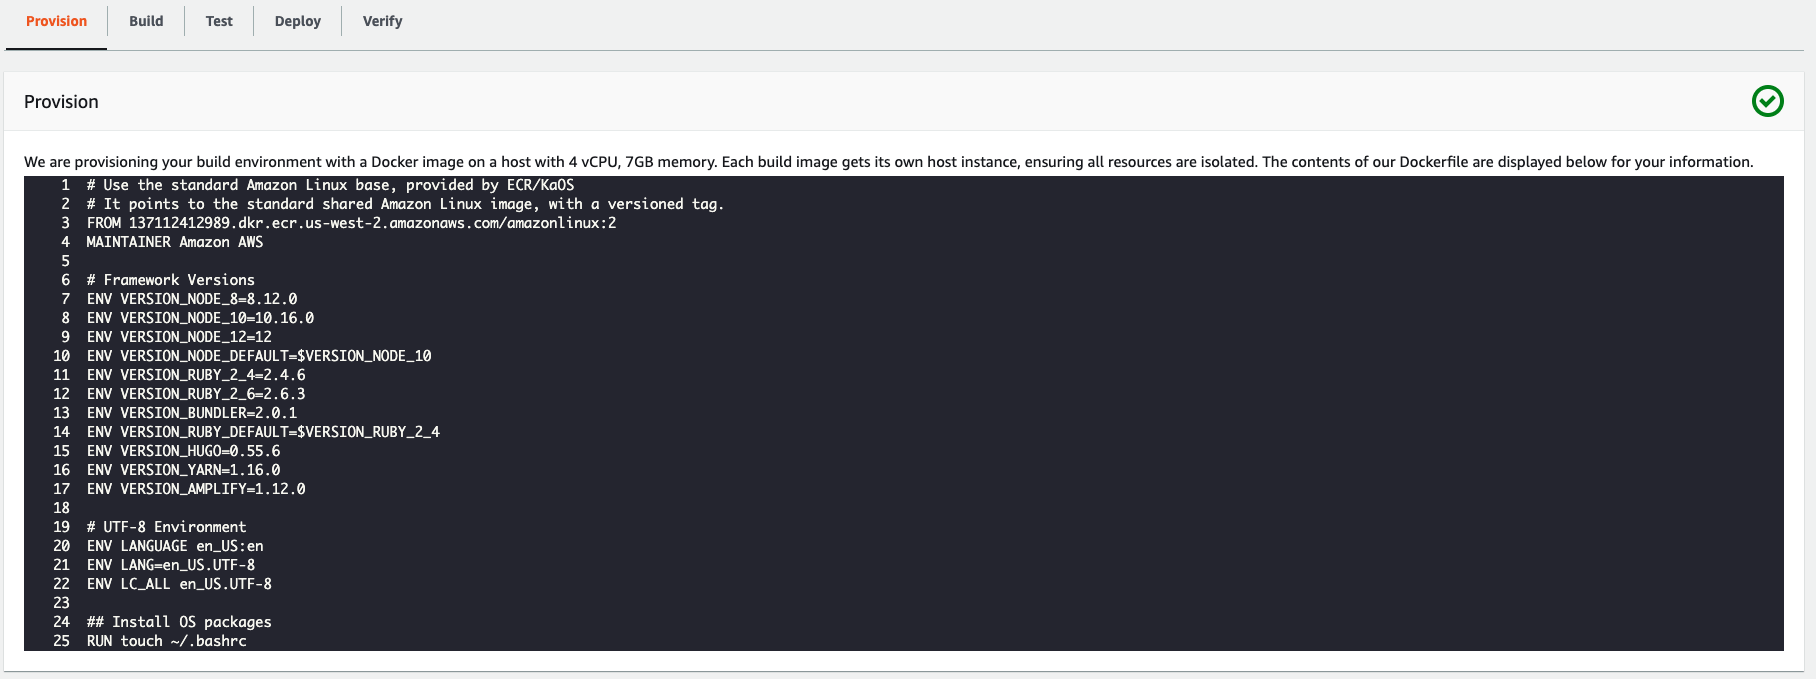
We can see that in this case it is provisioning an Amazon Linux 2 container. You can scroll through this output to see what kind of dependencies are available to you immediately. If you need to install anything else, you will need to update your amplify.yml file to download this.
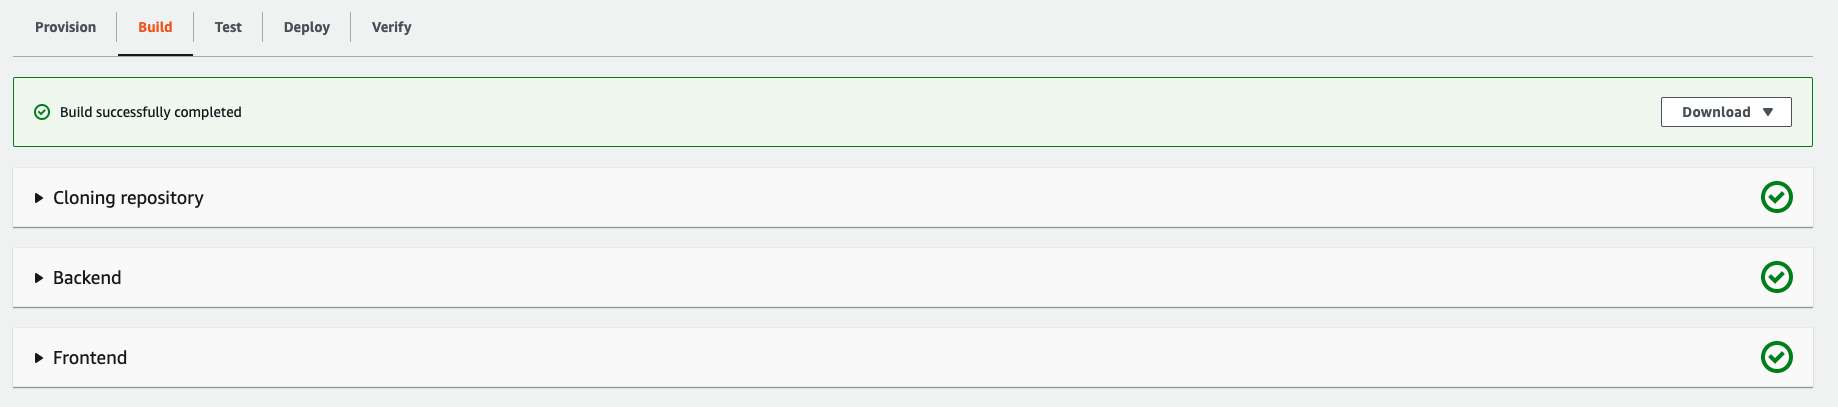
When clicking on the “build” tab, you will see the progress of the Git repo checkout, the frontend and the backend parts of your build:
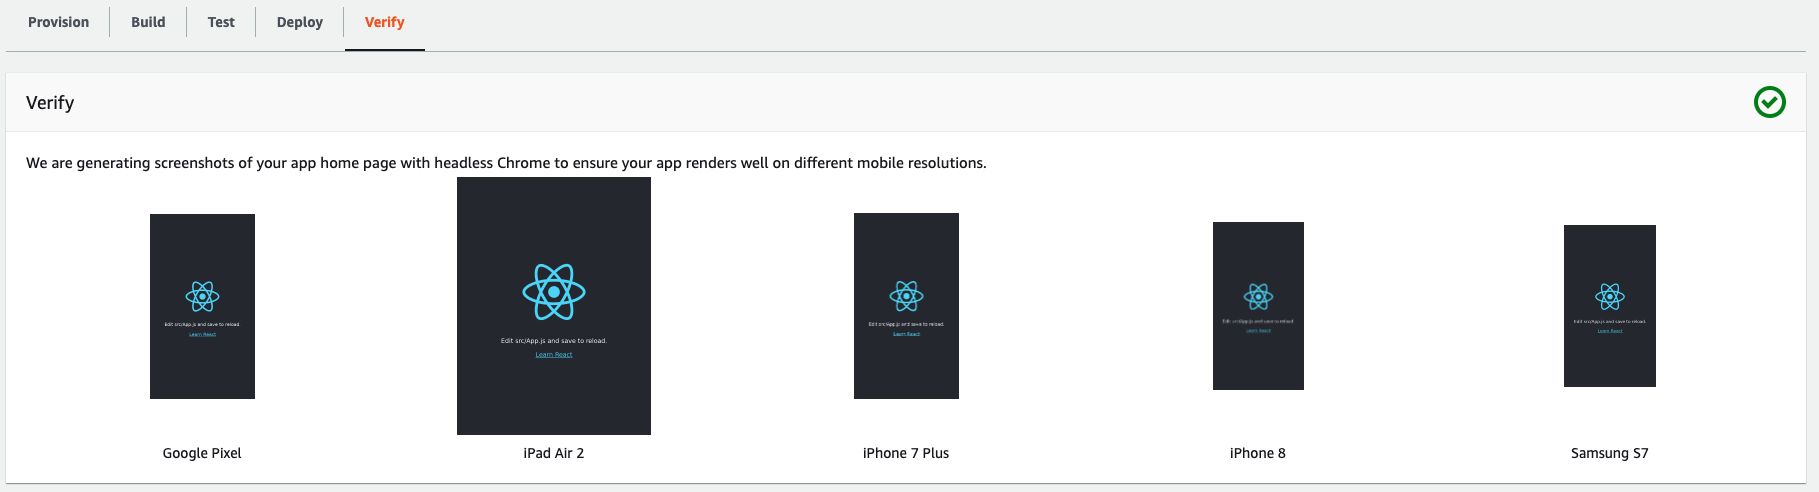
And there is also a verify step that checks the landing page of your application on different size screens:
Lastly, this build gets a special domain that is shown here:

Notice that the name of the branch is incorporated into the domain. This means you can have a different domain per branch. Clicking on this will open your hosted application, which has been deployed by your new Amplify deployment pipeline.
Conclusion
I hope this has given you an idea of what is possible with the Amplify console and how easy it is to set it up if you have an Amplify project. For more information on what you can do, including adding a testing phase, check the official documentation. For more information about the pricing, visit this site.